Ever wonder why some YouTube videos instantly look professional, while others feel amateur even if the content is great? The difference often comes down to framing, lighting, and background. You don’t need an expensive studio to film like a pro—just a few smart adjustments can dramatically improve your video quality.
Here’s how to level up your filming setup.
1. Master the Art of Framing
Framing is how you position yourself (or your subject) inside the shot. A well-framed video instantly feels more polished.
Tips:
Rule of Thirds
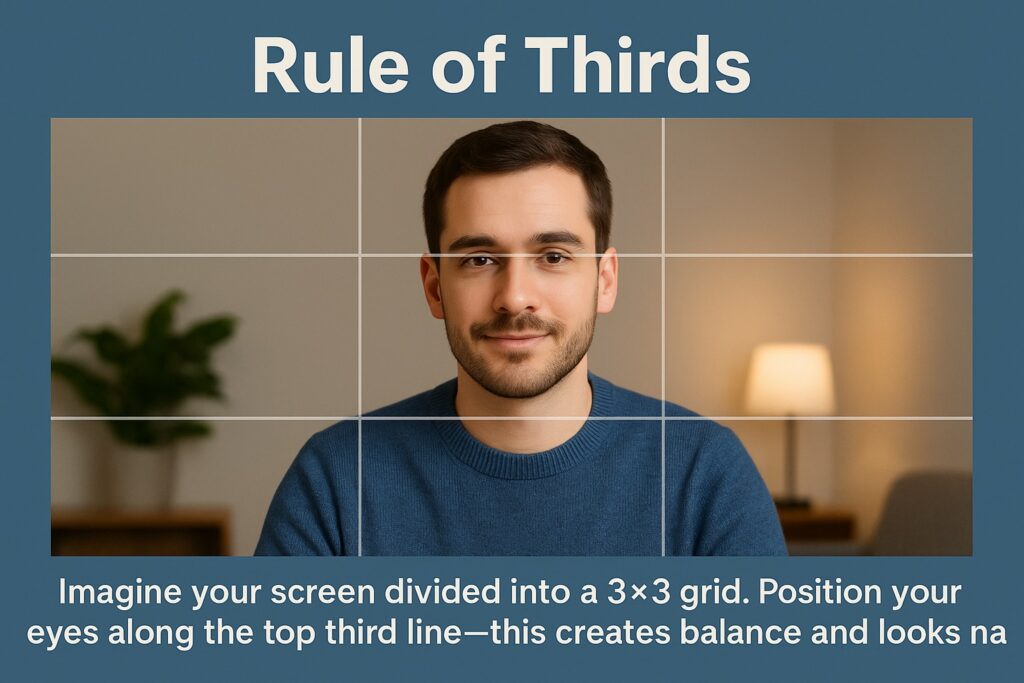
Imagine your screen divided into a 3×3 grid. Position your eyes along the top third line—this creates balance and looks natural.
Headroom

Don’t leave too much empty space above your head. A small gap is enough.
Center vs. Off-Center
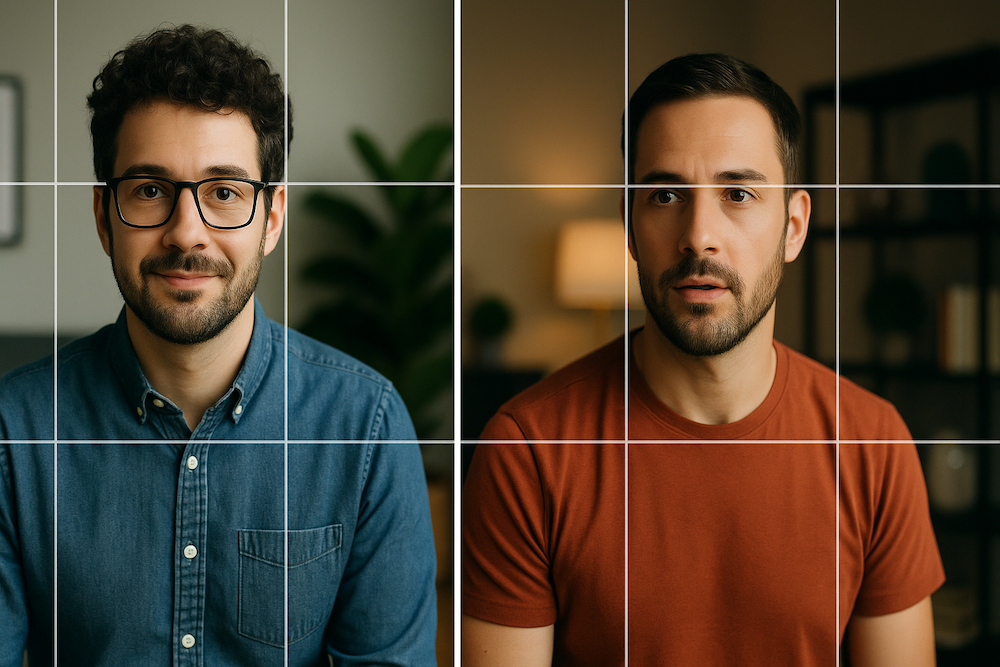
For tutorials or direct talks, center framing works best. For creative or cinematic vibes, try off-center framing with space on one side.
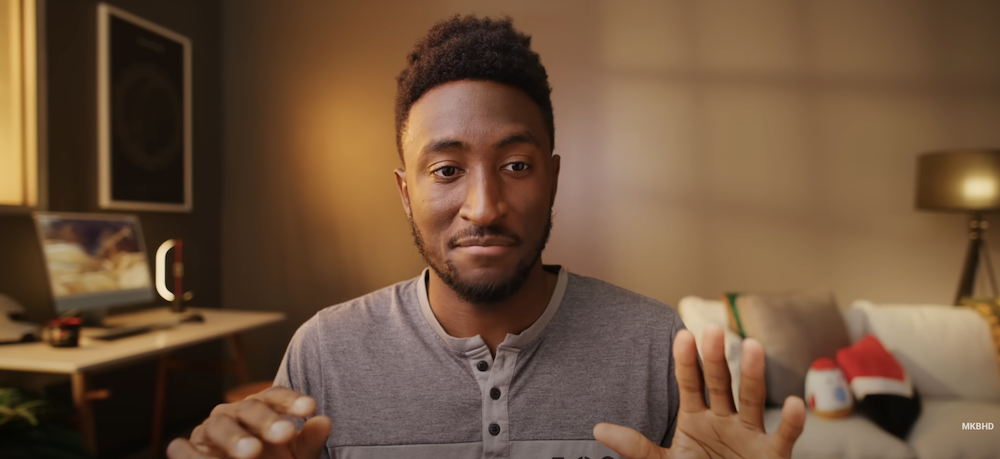
👉 Example: Notice how top YouTubers like MKBHD always appear framed neatly, with consistent headroom and clear focus.
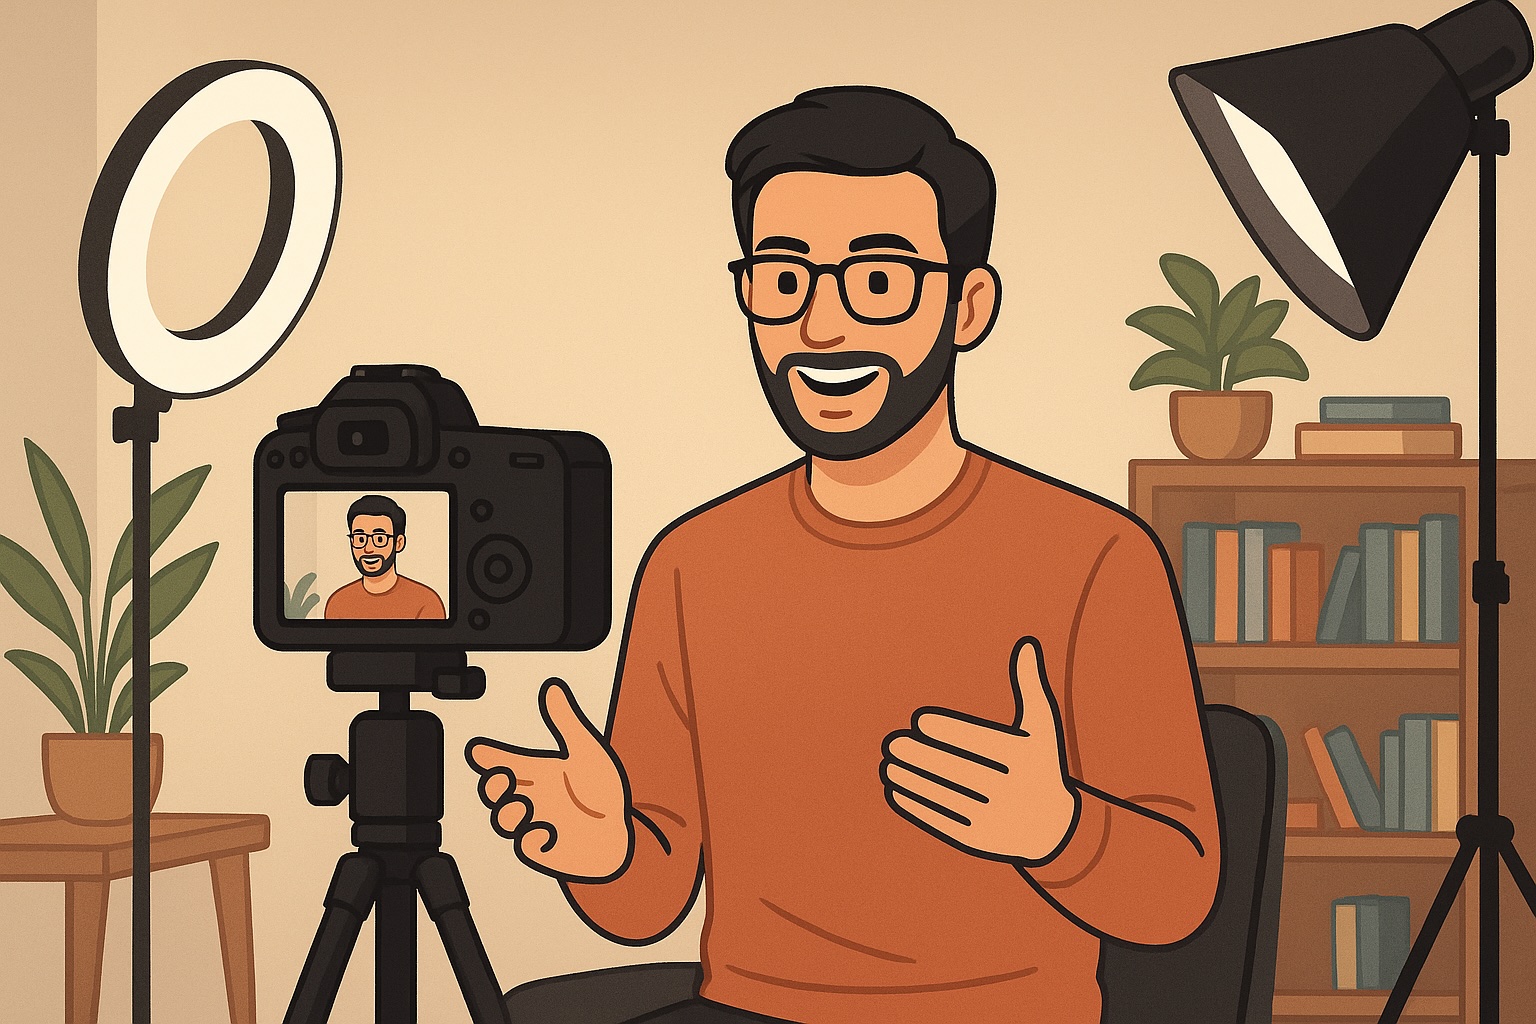
2. Get Lighting Right (It Matters More Than Your Camera)
Lighting makes or breaks your video. Even with a budget camera, good lighting can create a crisp, professional look.
Tips:
Use Natural Light:

Face a window for soft, flattering light. Avoid having the window behind you—it will cause harsh shadows.
Three-Point Lighting Setup (classic pro trick):
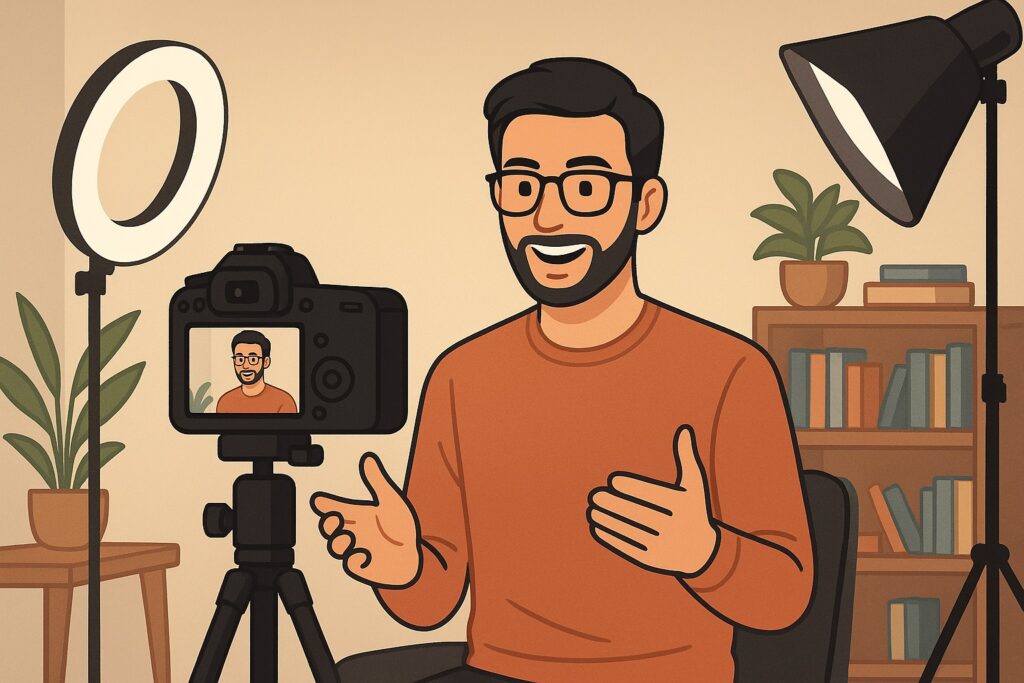
- Key light: Your main light source (usually a softbox or ring light).
- Fill light: A weaker light to reduce shadows on the other side of your face.
- Back light: Placed behind you to separate you from the background.
Avoid Overhead Lights
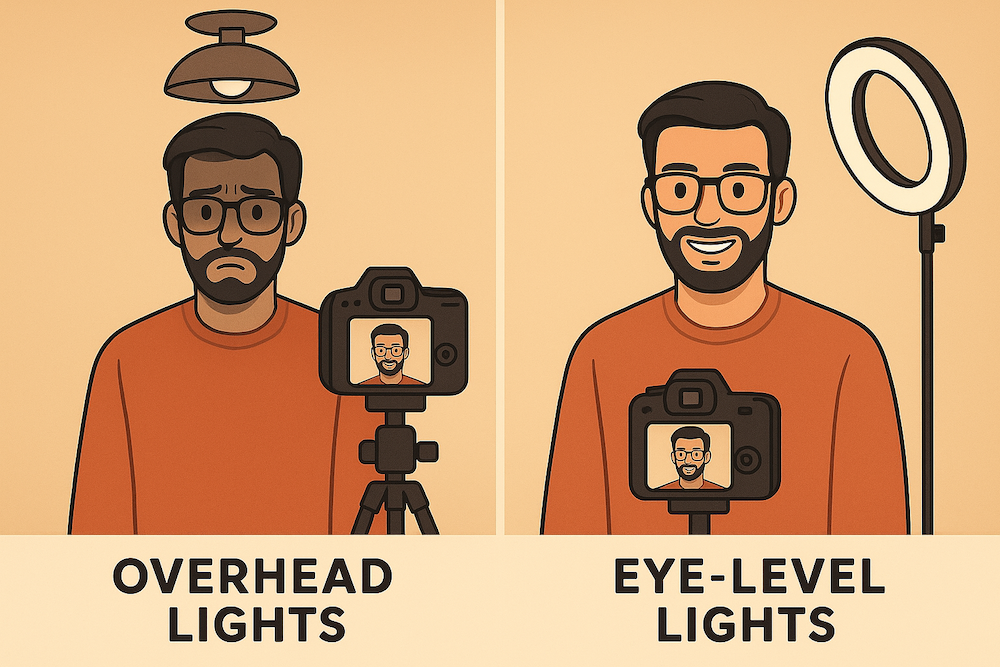
They cast unflattering shadows. Use lights at eye level instead.
👉 Example: Many beauty and tutorial YouTubers rely on a simple ring light + natural window light combo, which costs under $100 but looks studio-quality.

3. Curate Your Background
Your background says a lot about your channel’s personality. A messy, distracting background makes viewers focus on the wrong things.
Tips:
- Keep it tidy: A clean space builds trust and professionalism.
- Add personality: Include elements that match your niche (books for education, gear for tech, plants for lifestyle).
- Depth adds interest: Don’t film with your back flat against a wall. Leave some space so the background looks layered.
- Blur effect (bokeh): If your camera allows, a slightly blurred background makes you pop in the frame.
👉 Example: Many vloggers use a bookshelf with subtle LED lights. It feels cozy, personal, and on-brand.
4. Gear vs. Technique: What Really Matters
Many beginners think they need a $2000 camera to look professional. In reality:
- A smartphone + good lighting + clean framing can beat a bad DSLR setup.
- Tripods and phone holders are cheap but make your framing stable.
- Investing in lighting usually gives more improvement than upgrading your camera.
5. Test and Adjust Every Time
Professional creators don’t just “set and forget.” They test.
- Record a short clip, check how it looks, then tweak framing, light, or background.
- Small adjustments (moving a lamp, adjusting camera angle, clearing clutter) make a huge difference.
Final Thoughts
Looking like a pro YouTuber isn’t about having the most expensive gear—it’s about framing smartly, lighting properly, and designing a clean background. With these adjustments, you’ll instantly boost your production value, build credibility, and keep viewers watching longer.
👉 Remember: Great content draws people in, but great visuals keep them there.