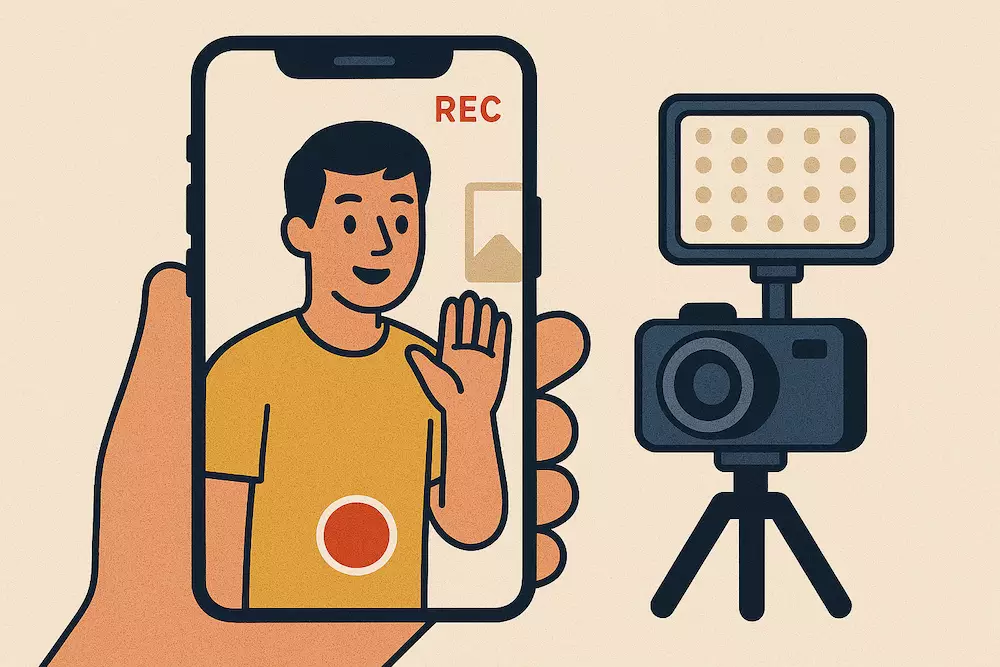
You can start a YouTube channel with a phone. The goal is not to make the phone look like an expensive cinema camera; it is to create a clear, watchable video by controlling the parts that matter most: idea, audio, light, framing, stability, and a repeatable workflow.
Use this guide before buying a camera. If a limitation appears in several videos, you will know what to upgrade and why.
What your phone already gives you
A modern phone combines a camera, microphone, monitor, editor, storage device, and upload tool. Its biggest advantages for a beginner are availability and speed: you can practice more often because the setup is already with you.
The tradeoffs are also real. Phones can struggle with poor light, distant audio, long recordings, heat, battery, storage, and aggressive automatic exposure. A simple setup reduces those problems.
Step 1: Prepare the phone
Before recording:
- Clean the lens with a soft cloth.
- Free enough storage for multiple takes and the edited export.
- Charge the battery or keep power nearby.
- Turn on Do Not Disturb or airplane mode when appropriate.
- Confirm the camera orientation before the first take.
- Record a short test and play it back with headphones.
Use the native camera app until a missing control creates a real problem. A more complex camera app is not automatically an improvement.
Step 2: Choose settings you can sustain
For most first videos, 1080p is a practical starting point. Higher resolution can provide cropping flexibility, but it also increases file size, processing time, heat, and storage pressure.
Choose a frame rate that matches the video rather than changing it between takes:
- 24 or 30 fps: suitable for most talking-head, tutorial, review, and vlog footage.
- 50 or 60 fps: useful for fast movement or footage you intentionally plan to slow down, but needs more light and storage.
Avoid digital zoom when possible. Move the phone, change lenses, or crop modestly during editing. Lock focus and exposure if the native app supports it and the image keeps changing while you speak.
Step 3: Fix audio before image quality
Viewers may accept a simple image when the idea is useful, but distant, echoing, or distorted speech makes the content difficult to follow.
Start without buying anything:
- Move the phone closer to you.
- Record in a smaller, quieter room with curtains, rugs, furniture, or soft materials.
- Turn off fans, air conditioners, appliances, and notifications for the take.
- Keep the phone and microphone position consistent.
- Record ten seconds, listen with headphones, and check for hum, echo, clipping, or clothing noise.
If distance is unavoidable, the first useful purchase is often a compatible wired or wireless microphone—not a new camera. Check the connector and phone compatibility before buying.
Step 4: Use one controllable light
Face a window rather than placing the window behind you. Move closer or farther away until the face is bright without a distracting background. On changing days, curtains can soften harsh light.
If you use a lamp:
- Place it slightly above eye level and off to one side.
- Keep mixed light colors under control; daylight plus an orange lamp can look uneven.
- Do not place hot lamps against fabric or unsafe improvised diffusers.
- Prioritize a clear face over decorative colored lights.
A small light becomes valuable when you must record at night or in the same position repeatedly. Buy it to solve that constraint, not because every creator desk has one.
Step 5: Stabilize and frame the shot
For a talking-head video, place the lens near eye level. Leave enough space around the frame for natural movement and possible crops, but do not make the speaker tiny.
Use a tripod, clamp, or stable shelf. If you improvise with books, make sure the phone cannot slide or fall. For handheld footage:
- Use both hands and keep elbows closer to the body.
- Move slowly and deliberately.
- Record short shots rather than one long wandering take.
- Pause before and after each movement to give the editor clean handles.
Look at the lens when speaking directly to the viewer. Looking at your own image on the screen can make eye contact feel slightly off.
Step 6: Record in short, editable sections
A beginner does not need to deliver a ten-minute script perfectly. Divide the outline into sections, record two or three versions of each important line, and leave a small pause between takes.
A practical sequence:
- Record the main explanation.
- Record close-ups, screen recordings, demonstrations, or B-roll that clarify the explanation.
- Capture room tone for a few seconds if the editor needs to smooth audio cuts.
- Review the critical footage before dismantling the setup.
- Back up the files before deleting anything from the phone.
Step 7: Edit for clarity on the phone
Use the editor you can finish with. The essential first-video edits are:
- Remove mistakes, long pauses, and repeated explanations.
- Balance speech volume without making it distort.
- Add B-roll or text only when it helps understanding.
- Use music carefully so it does not compete with speech.
- Add captions or correct automatically generated captions after upload.
- Export once at a quality that matches the source recording.
Templates, transitions, and effects should not become a second project. The first-video workflow shows where editing fits into the complete process.
A no-cost phone setup
- Your current phone using the rear or front camera you can operate confidently.
- A quiet room with soft furnishings.
- A window or existing lamp facing you.
- A stable shelf, books, or existing phone support.
- The phone’s native camera and an editor you already understand.
- Headphones for checking audio.
When should you upgrade?
Upgrade after the same limitation appears repeatedly and the purchase clearly removes it.
| Repeated problem | First thing to test or upgrade |
|---|---|
| Distant or echoing speech | Move closer, improve the room, then consider a microphone. |
| Dark or inconsistent face lighting | Change position or recording time, then consider one light. |
| Shaky static shots | Use a stable support or inexpensive tripod. |
| Storage and overheating during long sessions | Record shorter sections, manage files, or use external storage/workflow options supported by the phone. |
| You need specific lenses, long recording reliability, or advanced controls | Only then compare dedicated cameras against the exact requirement. |
The budget YouTube equipment guide helps you choose an upgrade order. Until a limitation is clear, the fastest improvement usually comes from a better idea, closer audio, controlled light, and another finished video.