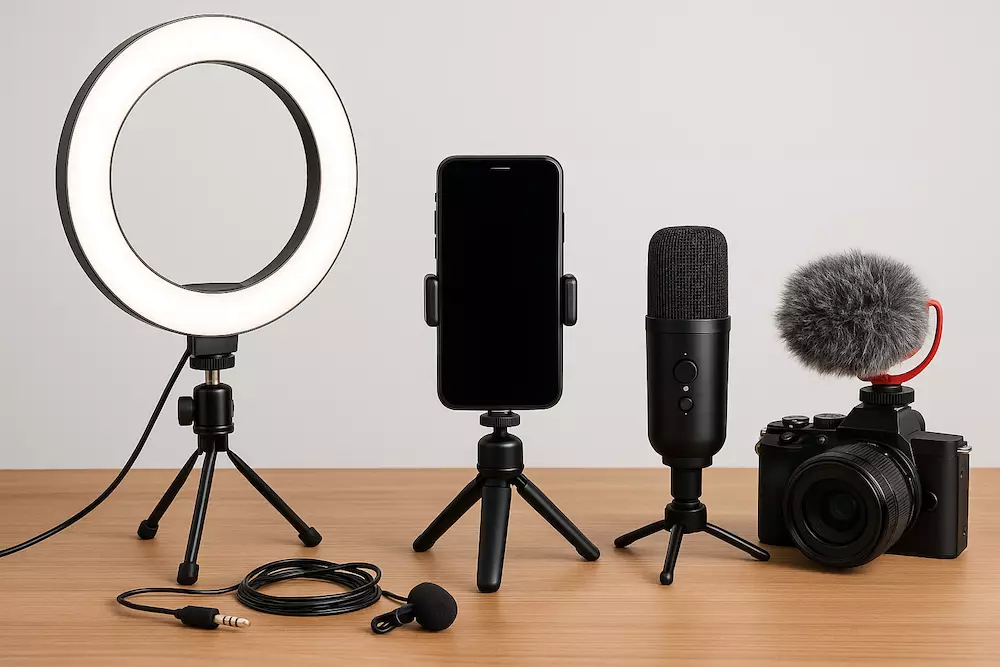
The best beginner YouTube setup is not a shopping list. It is the smallest reliable system that lets you record clear audio, a readable image, and repeatable videos with equipment you can operate without slowing down the idea.
Start with what you own. Upgrade only the weakest link that has appeared in several recordings. This guide gives you an order of operations rather than a collection of products that will be outdated next year.
Start with the production problem
Before buying anything, record a one-minute test in the location and format you expect to use. Watch it on a phone and computer with headphones, then answer:
- Can the viewer understand every word without effort?
- Is the face, screen, object, or demonstration easy to see?
- Does the camera remain stable?
- Can you repeat this setup in less than ten minutes?
- Which single problem most reduces the usefulness of the video?
That final answer determines the first upgrade. Do not buy a camera to solve room echo or a light to solve an unclear script.
Upgrade priority 1: audio
Distance and room acoustics often matter more than the microphone price. First move the existing microphone closer and reduce background noise. A quiet room with curtains, rugs, books, and furniture can outperform an empty room with an expensive microphone.
Consider a microphone when you repeatedly need to record farther from the phone or camera, move while speaking, or maintain the same voice level across sessions.
- Wired lavalier: inexpensive and close to the speaker, but check cable length, connector, clothing noise, and adapter compatibility.
- Wireless lavalier: useful for movement and wider shots, but adds batteries, pairing, interference, and more failure points.
- USB microphone: practical for desk videos, voice-over, streaming, or screen tutorials when the speaker stays close.
- Shotgun/on-camera microphone: compact, but it cannot overcome excessive distance or a reflective room.
Always record a short test and monitor it. The microphone that was not connected, selected, charged, or positioned correctly is worse than the phone microphone placed close to the speaker.
Upgrade priority 2: light
Use a window first. Face it, move until the exposure looks natural, and avoid a bright window directly behind the subject. If daylight changes too much or you record at night, one controllable light is the next step.
A useful first light should be:
- Bright enough for the recording distance.
- Adjustable or easy to reposition.
- Soft enough that the face or object does not have distracting hard shadows.
- Stable and safe in the recording space.
- Fast to reproduce for the next video.
You do not need multiple colored lights to begin. One clear key light and a deliberate background are easier to control than a complicated studio.
Upgrade priority 3: stability and support
A stable phone or camera immediately makes a tutorial, review, or talking-head video easier to watch. Choose support for the shots you actually make:
- A small tripod or phone clamp for a desk.
- A full-height tripod for standing or room-level framing.
- An overhead arm only if you repeatedly film hands, art, cooking, or products from above.
- A simple handheld grip only if it improves control; it does not replace deliberate movement.
Check the load, mounting thread, phone width, balance, and floor space. A cheap support that slowly slips during every take creates more editing work than it saves.
Upgrade priority 4: camera
Your current phone is usually the correct first camera. Follow the phone filming guide before deciding that image quality is the bottleneck.
A dedicated camera becomes reasonable when you can name a repeated requirement such as:
- Reliable long-form recording without overheating or storage disruption.
- Specific lenses or focal lengths for the subject.
- Better control in genuinely low-light environments.
- External audio, monitoring, or live-output requirements.
- A production format where autofocus, battery swaps, or mounting options save meaningful time.
Price the whole system, not only the body: lens, memory, batteries, power, support, audio connections, and storage can cost as much as the camera.
Editing and storage are part of the setup
A camera upgrade often creates larger files and a slower computer workflow. Before changing recording quality, confirm where footage will be copied, edited, backed up, and archived.
A minimum workflow needs:
- Enough space for source files, project files, and the final export.
- A consistent folder and filename system.
- At least one additional copy of footage that would be difficult to recreate.
- An editor that runs reliably on the device you own.
- Headphones or speakers that reveal obvious audio problems.
Free or low-cost software can be enough. The useful choice is the one that supports your format and helps you finish, not the one with the longest feature list.
Three practical budget levels
| Level | What to use | When to move up |
|---|---|---|
| Use what you own | Phone, window, quiet room, stable shelf/support, existing editor, headphones. | A specific problem survives several test recordings. |
| Fix one bottleneck | One microphone, light, or stable support chosen for the repeated problem. | The channel format requires reliability or control the current system cannot provide. |
| Build a repeatable kit | Compatible camera/audio/light/support/storage components that can stay assembled or be set up quickly. | Only after the production system and publishing habit justify the investment. |
Avoid these beginner buying mistakes
- Buying several low-quality versions of the same item without testing the first one.
- Choosing products from a creator’s studio tour without sharing their format or constraints.
- Ignoring connectors, adapters, batteries, mounts, and software compatibility.
- Spending the entire budget on the camera while leaving audio and light uncontrolled.
- Building a setup that takes so long to assemble that you record less often.
- Using debt or essential living money to test an unproven content idea.
Your minimum equipment checklist
- A camera you already know how to start, stop, focus, and transfer files from.
- Speech recorded close enough to be clear.
- One controllable source of light.
- Stable support appropriate to the shot.
- Power and storage for the planned session.
- A reliable edit, export, and backup path.
- A ten-second test before the full take.
Equipment should remove friction from a repeatable idea. Once the setup passes this checklist, stop shopping and use the first-video workflow to publish.