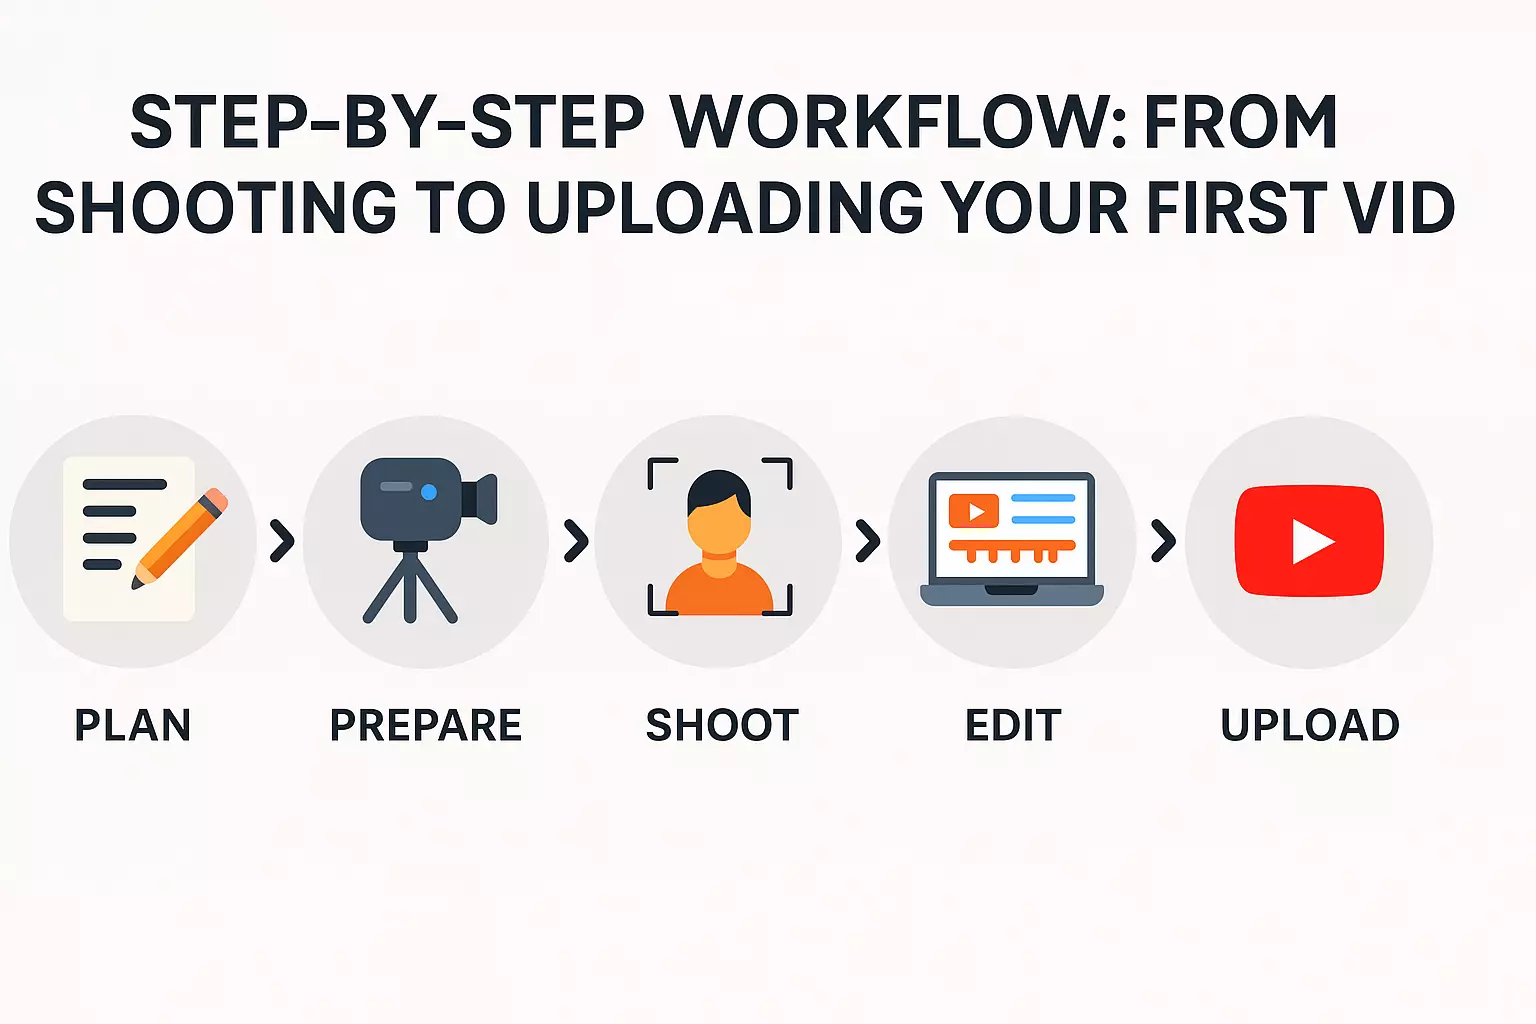
Your first YouTube video becomes manageable when it is a sequence of small decisions: choose one viewer and promise, plan the minimum footage, test the setup, record in sections, edit for clarity, package the idea, upload privately, then publish and review the process.
This workflow is designed to get one useful video finished. It is not a demand for perfect scripting, cinematic production, or advanced optimization.
Workflow overview
| Stage | Output |
|---|---|
| 1. Define | One viewer, one problem, one promised result. |
| 2. Package | Several honest title/thumbnail directions before filming. |
| 3. Plan | A short outline and shot list. |
| 4. Test | Confirmed audio, light, framing, storage, and settings. |
| 5. Record | Main explanation plus necessary supporting footage. |
| 6. Edit | A clear version that delivers the promise. |
| 7. Upload | Complete title, description, thumbnail, audience, checks, captions, and visibility. |
| 8. Review | One production lesson and one next-video improvement. |
1. Define the viewer and result
Write one sentence before opening the camera or editor:
This video helps [specific viewer] understand, do, or experience [one result] by showing [the method, evidence, or story].
If the sentence contains several unrelated results, reduce the scope. A focused first video is easier to title, film, edit, and evaluate.
If you have not chosen a channel direction, use the niche selection lesson. If the channel itself does not exist yet, complete the channel creation checklist.
2. Draft the title and thumbnail promise
Do this before filming—not because the first title must be final, but because packaging reveals whether the idea is understandable.
Create three directions:
- A direct answer or tutorial title.
- A problem, mistake, or constraint title.
- An example, experiment, result, or story title.
For each, sketch the thumbnail as one simple visual idea. The title and image should work together without making a promise the video cannot deliver. Use the thumbnail guide when you are ready to refine it.
3. Build a minimum outline
A full word-for-word script is optional. Every first video needs a clear route:
- Opening: identify the problem, question, or reason to continue.
- Context: give only the background needed to understand the answer.
- Delivery: show the steps, evidence, demonstration, or story.
- Result: make the promised outcome visible or summarize what changed.
- Next step: offer one relevant action or related video—not several generic requests.
Mark any sentence that needs a screen recording, product close-up, example, chart, location shot, or other B-roll. That becomes the shot list.
4. Prepare and test the setup
Before the full take:
- Clean the lens and frame the subject.
- Place the microphone or phone close enough for clear speech.
- Control the main light and background distractions.
- Confirm battery, storage, orientation, resolution, and frame rate.
- Turn off avoidable notifications and noise.
- Record ten seconds and play it back with headphones.
Do not skip playback. A test catches the disconnected microphone, wrong orientation, focus problem, background noise, and full storage before they affect the complete session.
You can use the phone filming guide or budget equipment checklist to solve a specific setup problem.
5. Record the main video in sections
Record the opening while your energy is fresh, but expect to revise it after the rest of the video is clear. Work through the outline in manageable sections.
- Pause before and after each take.
- Repeat a difficult sentence instead of restarting the entire video.
- Keep the framing and microphone position consistent.
- Mark the best take verbally or in notes.
- Review critical demonstrations before dismantling the setup.
Then record only the B-roll needed to clarify, prove, or cover an edit. Random footage creates more sorting work without necessarily improving the explanation.
6. Edit for the promised result
Make the first rough cut before adding music, animated text, transitions, or color effects.
- Arrange the useful takes in outline order.
- Remove mistakes, repeated ideas, long pauses, and background setup that does not help the viewer.
- Check whether the opening reaches the subject quickly.
- Add B-roll, screen recordings, labels, or examples where the explanation needs support.
- Balance speech volume and keep music below the voice.
- Watch the complete video once without editing.
- Export and review the actual file on another device.
Save the source, project, thumbnail, and export using filenames you can identify later. Keep another copy of footage that would be difficult to recreate.
7. Upload as Private or Unlisted first
YouTube Studio’s upload flow includes details, audience, checks, and visibility. The interface changes over time, so use YouTube’s official upload documentation for current controls.
Complete:
- Title: accurate, specific, and aligned with the video’s result.
- Description: explain the video in the first lines; add sources, chapters, or relevant links when useful.
- Thumbnail: readable at small size and complementary to the title.
- Audience: correctly declare whether the video is made for kids.
- Captions: add or correct them, especially names and technical terms.
- Checks: review copyright and other available checks.
- Visibility: keep it Private or Unlisted until the public watch page is ready.
Tags are not the main optimization job. YouTube says the title, thumbnail, and description are more important for discovery, while tags mainly help with common misspellings. Do not delay publishing to create a huge tag list.
8. Run a pre-publish watch-page check
- Open the video on phone and desktop.
- Listen to the first minute with ordinary speakers or headphones.
- Check title and thumbnail together.
- Open important description links.
- Confirm captions, audience, visibility, playlist, and schedule.
- Make sure no private information appears in the footage or screen recording.
Then publish or schedule the video. Do not keep it private for days to make tiny edits that viewers are unlikely to notice.
9. Review the process after publishing
Immediately after publishing, record process observations—not conclusions about your future on YouTube.
- Which stage consumed the most time?
- What equipment or file problem repeated?
- Which explanation was hardest to make clear?
- What could become a reusable template or checklist?
- What is the next related video for the same viewer?
Wait for meaningful data before reacting to small CTR or retention changes. The YouTube Analytics beginner guide explains how to review reach, engagement, and audience reports in context.
Printable first-video checklist
Plan
- One viewer, problem, and result.
- Three title/thumbnail directions.
- Opening, delivery, result, and next-step outline.
- Only the necessary shot list.
Record
- Battery, storage, orientation, and settings checked.
- Ten-second audio/video test played back.
- Main sections and required B-roll complete.
- Critical footage reviewed and backed up.
Edit and publish
- Rough cut delivers the promise without repetition.
- Speech is clear; supporting visuals have a purpose.
- Export reviewed on another device.
- Title, description, thumbnail, audience, captions, checks, and visibility complete.
- Public watch page checked.
- One workflow improvement recorded for video two.
Finishing the first repeatable workflow matters more than making the first perfect video. Return to the Start a YouTube Channel guide for the complete beginner path.